How Did I Do That? Gulf of Mexico edition


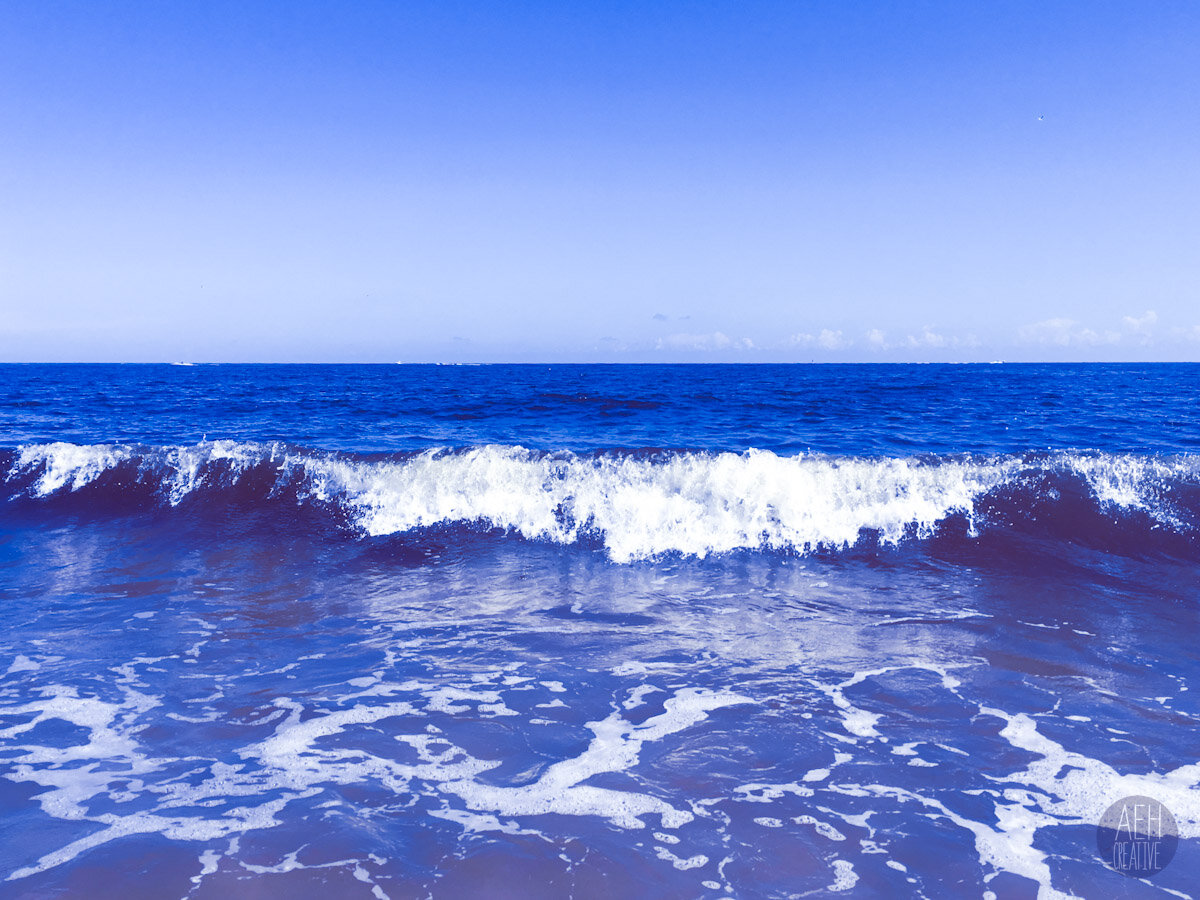
Want to know a secret? That water isn’t actually blue (tap the second image to see a before shot). I wish I could tell you it was, but I can’t. I took the photo a few years ago while vacationing in Orange Beach, AL, and if you’ve ever seen that water, you know that it’s usually quite brown. It’s sort of blue-green in the early morning hours but only for a short period of time, and then it turns a muddy brown. As you can tell from the video, this takes some editing.
So how did I do that? It’s actually pretty simple. You just have to know some editing basics.
The software I’m using is Adobe Lightroom. I used to use Photoshop until I realized just how robust Lightroom is. Now I usually use it for batch editing or for simple pieces like this. So I’ll be talking about Lightroom, but really and truly, these are settings you can find in almost any decent photo editing software.
Let’s get to it.
The first thing I usually do with any photo is adjust the exposure settings.
All of it is pretty self explanatory. Exposure obviously controls the exposure of the lighting in the photo, contrast controls the contrast in the photo, shadows control the shadows, etc. etc. Don’t go too heavy with these settings, though, or you run the risk of having a grainy photo. I’ll explain this in a future blog post on how to not overedit/overprocess your photos. But no matter how basic this information is, it’s still helpful to know, especially for the next part of the process.
Now let’s talk about color.
This is my favorite part of editing, and if you know me and know how much I love to wear bright colors and patterns, you’ll understand why. Color is my favorite thing ever.
Now there are tons of photographers who tell you that you should figure out the color settings when exposing the image in the camera. Are they right? Absolutely. One of the things I’m working on with my photography is getting the color right in the viewfinder so I have to edit less later. But there’s nothing wrong with editing a photo, especially when you’re like me and tend to focus more or on getting as many images as possible as opposed to that one perfect shot (which can, in fact, happen when shooting tons of images), or you want a specific look that takes a lot of work in camera to achieve. And there’s nothing wrong with it when the water you were wading in looks kinda gross.
Now, on to the color part. The first part of this is also pretty basic knowledge. Temperature controls the temperature of the lighting in the photo (i.e., warm light or cool light). Tint controls the tint of the colors in the image, and vibrancy and saturation control the colors’ intensity, working sort of hand in hand.
I usually try to keep these as close to the middle as possible, unless I’m going for something specific like a vaporwave look.
(The above photo was actually done with a preset. I’ll also do a blog post on my favorite presets and how to do vaporwave edits). But for the ocean photo, all I really wanted was to turn the water blue and make it look better. So that’s what I did.
With this setting, you’re modifying the different colors in an image. For this image, I saw a lot of greens, blues, and browns. Brown is a little bit trickier because it’s technically a shade of red and can sometimes have a hint of orange. For that reason, I modified the reds and oranges in the image to tone them down a bit. I also modified all the other colors because they can be almost anywhere.
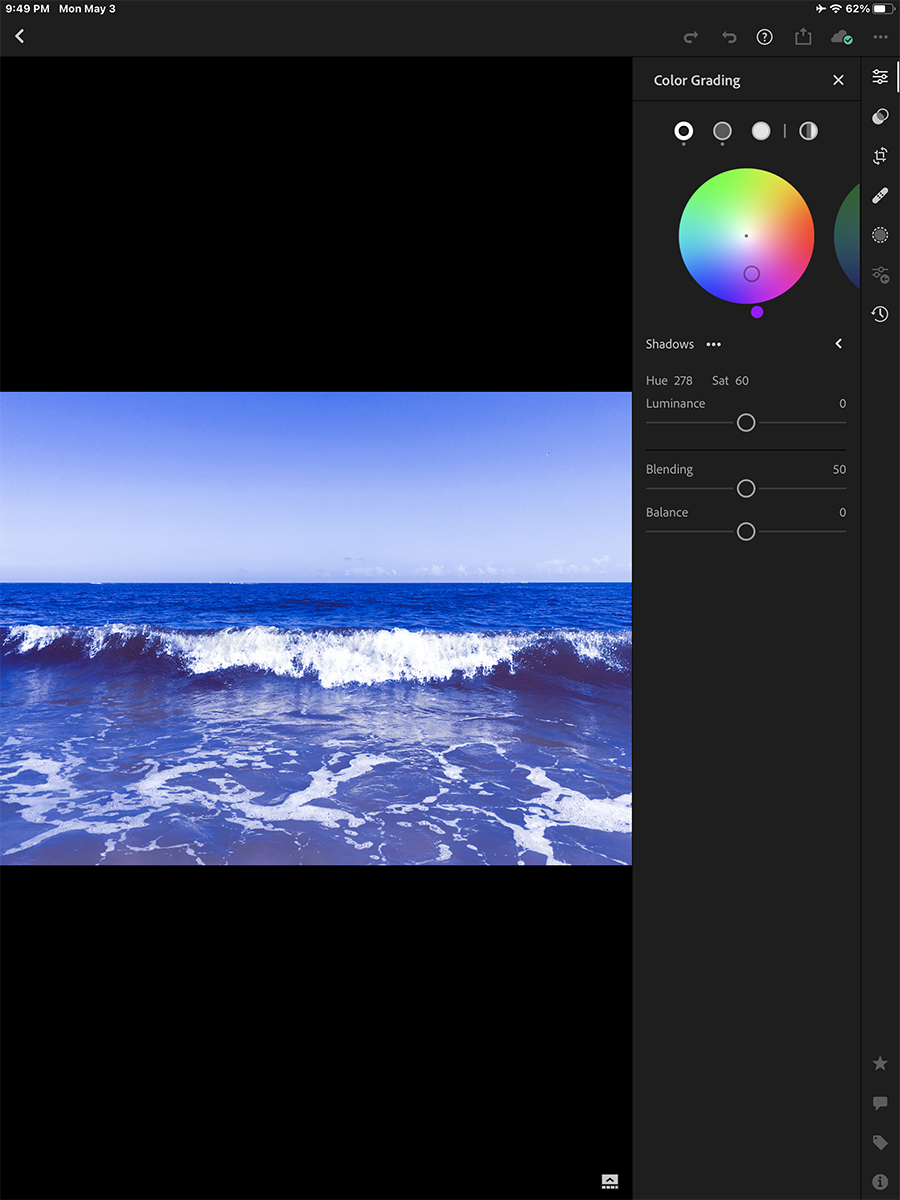
This last part is what made the image come out the way it did. I played with the color grading, meaning the color in the shadows, midtones, and highlights. With that, I moved the color wheel around for the different sections until I got the colors I wanted.
After that, it was just a matter of straightening the image to make an even horizon line, and there you have it. I was able to make ugly water look pretty with a few settings on my iPad Lightroom app. I took lemons and made lemonade.
Photo editing may seem difficult, but as long as you know the basics, it’s easy to turn a photo into what you want.
::Pssst:: Did you know I have images from this set uploaded to my Society6? You can get them on phone cases, pillow cases, koozies, water bottles like the one below, all (or at least most) of the things. Check it out at the button below if you want some beachy vibes in your life. After the year we’ve had, I’m personally craving them.


